Gray Bedroom Doors
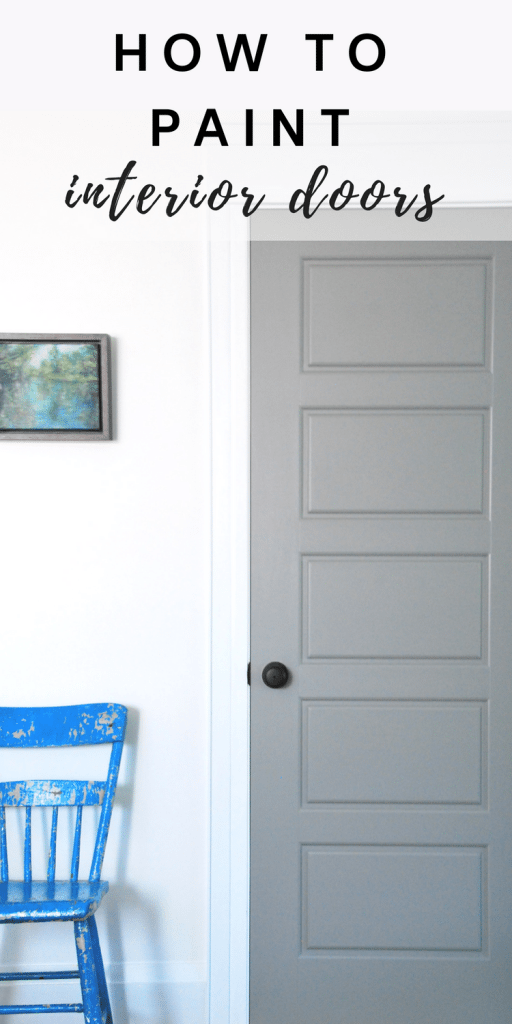
Doors aren't really one of those things that you think too much about when you rent or buy a house (unless there is something especially hideous or amazing about them), but when you're renovating or building a house from scratch, they kinda become a major deal and we wanted gray interior doors.
You usually have to shell out some major dough when there are so many to buy! What style of door are you going to go with, hollow core or solid, doorknob choice, and color.
I'll get into why we chose the style of door we did in a separate post, but today I want to chat color: Why and how we painted our gray interior doors.
DIY Gray Interior Doors – Supplies You'll Need:
I knew from the get-go that I wanted our main floor to have totally white walls. I wanted everything to feel bright and airy, and super white walls were the way to get that feel. Once we started to put the doors in though, I realized how they would just fade away into the background and be really pretty dull if they were also white. So… I started to think about colors.
I wasn't going to go crazy with some overwhelmingly bright hue, as that wouldn't really fit into the mostly-neutral feel that I wanted for our main floor. Once our IKEA Lindigo (now "Bobdyn") gray cabinetry was installed in the kitchen, I knew right away that pulling that color through to the interior doors was the way to go. It would help connect the kitchen to the other areas in the open concept space, and it would definitely allow for the doors to stand out.
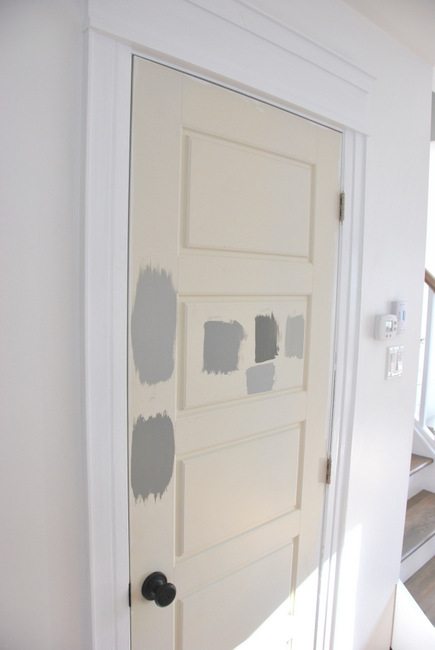
I tested out a bunch of different grays to figure out which one was going to be it. The winner? PARA Paint "Courtyard".
I used PARA's door & trim paint and gave each door two coats. You guys, painting doors is SO MUCH EASIER if you take them off the hinges. Seriously. Do it. It only takes a few minutes and they are simple to hang again.
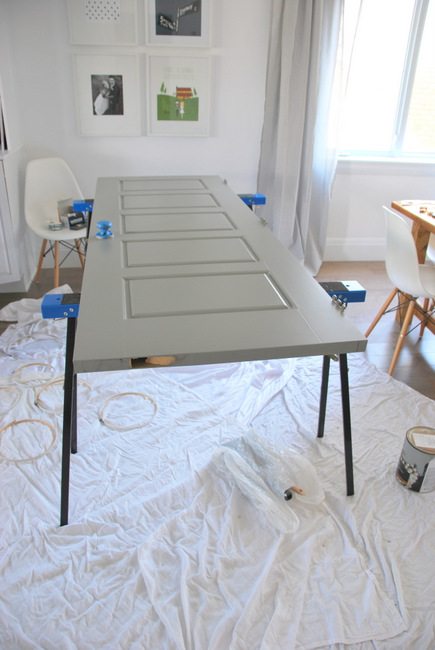
Door painting method to get a perfect factory finish:
1 // Lay the door on saw-horses so you can get at the sides easily, and there won't be any drips. I was painting brand new doors so didn't have to worry about any prep, but if you are doing old doors, make sure you have done any necessary sanding.
2 // Either remove or tape off the handles and any other hardware with painter's tape (I likeFrogTape). I taped ours off because they were really easy to do, but taking them off makes it even easier to get that perfect look.
3 // Paint into any moulding with a regular paintbrush first (I lovePurdy brushes, personally. They are worth the splurge and will last forever if you clean them properly after each use).
4 // Paint the rest of the door with a mini foam-roller quickly afterwards so you can blend in those brush strokes (I use this Shur-Line roller with these roller re-fills). Do not apply too much paint at once. Go lightly and evenly.
5 // After letting dry for several hours, repeat steps 3 & 4 for your second coat. Let dry for at least 24 hours before flipping and doing the other side of the door.
6 // Re-hang, and enjoy your new beautiful door!
Honestly, people can't believe that I painted these doors myself because they look so good. For reals.
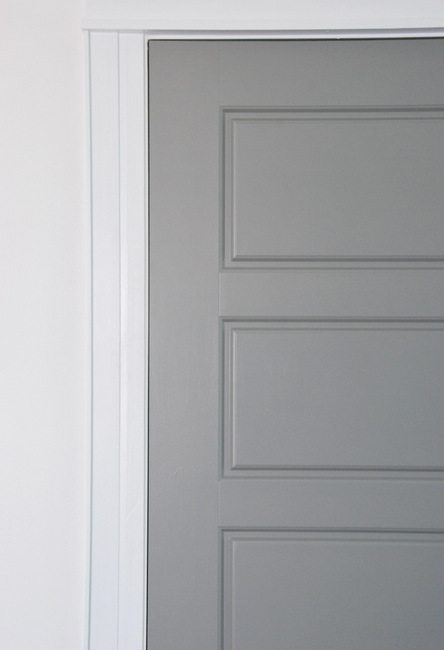
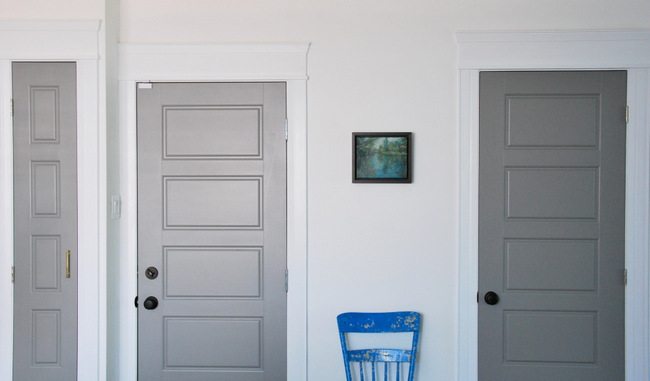
The paint color match (PARA Paint's "Courtyard") with the IKEA Lindigo (now "Bodbyn") gray kitchen cabinetry is pretty near perfect, and I'm really happy with the way it helps to continue the colour palette throughout the space.
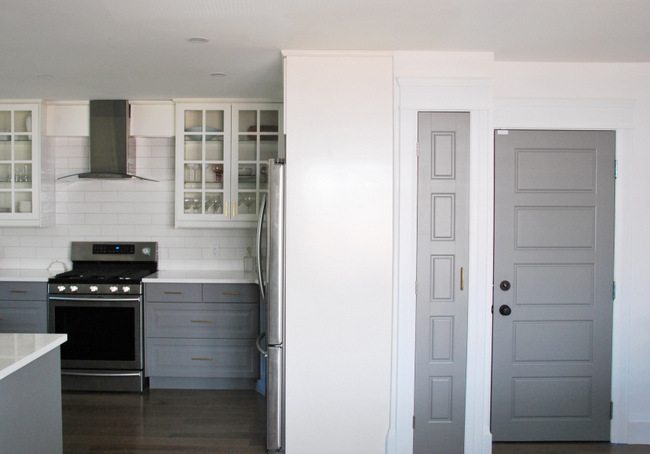
Officially ticked off the "to do" list – yay. However… I still have all of the upstairs doors to go. SO MUCH PAINTING!
Don't Miss:
Make sure to go see our House Tour page to check out how the whole space came together!
Source: https://thesweetestdigs.com/diy-gray-interior-doors/


Tidak ada komentar:
Posting Komentar